 Need assistance?
3 Steps to Match a Stainless Steel Satin (#4) Finish
A #4 satin finish is one of the most commonly used finishes. It's ideal for fabrications that need to look great, without being too reflective. What's more, its relatively easy to achieve - keep reading to learn how...
What is a satin finish?
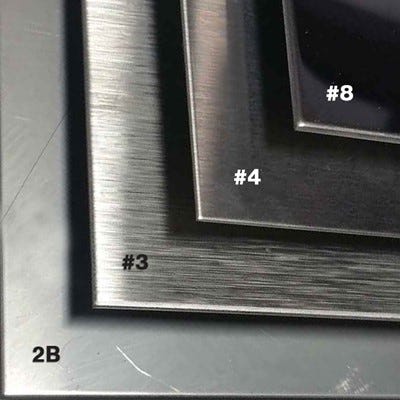
A satin finish, also called #4 finish, is a brushed finish which can often differ in appearance from batch to batch due to manufacturing variations. The satin appearance is characterised by a pattern of very fine parallel lines, producing a decorative appearance which is not too reflective.
The #4 brushed finish is used on stainless steel applications where appearance is important, but reflectiveness is unwanted. For example, kitchen benchtops, hand rails, architecture or automotives.
As a satin finish is created by creating fine scratches in the stainless steel, this does make it slightly less corrosion resistant than a mirror finish as the groves are susceptible to rust.
#3 is also a brushed finish, but has a much more grainy look, with thicker parallel scratch marks, as seen in the image to the right
Pros
- Strong decorative appeal
- Is not highly reflective
- Easier to match during fabrication than 2B or mirror finishes
Cons
- Reduced corrosion resistance
- Can differ in appearance from batch to batch
3 steps to match a #4 Satin Finish on Stainless Steel
With a bit of practice, skill and the right tools it can be done! Here's a step-by-step guide:
What you'll need:

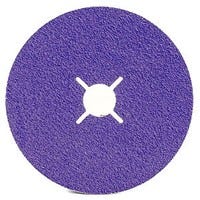
Deerfos Bora9 Fibre Disc
60 grit+

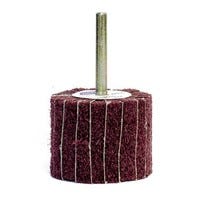
ELITE Flap Wheel (available in wooden hub or spindle mount) or Portable File Belt - 60 grit+

Deerfos SA331 Velcro Sanding Discs
P120, P240, P400, P600, P1200 & P2000 grits
Combination Flap Wheel (available in wooden hub or spindle mount)
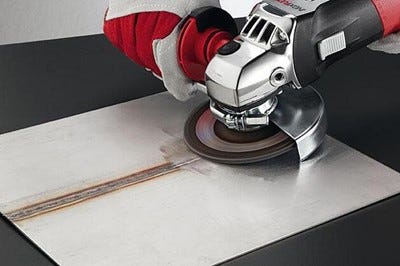
Step 1. Level the weld
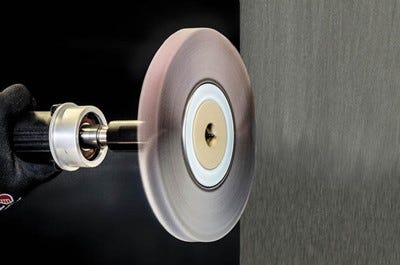
Using a Deerfos Bora9 Fibre Disc, 60 grit+, carefully remove the weld without gauging or distorting the work.
Bora9 Fibre Discs use a new generation ceramic grain for aggressive, cool cutting and long life caused by the sharp crystal shaped grain. They also utilise a specialised top coating to reduce clogging, friction and heat build up, maintaining the sharpness of the grain.
Step 2 : Sanding out the defects
There's 2 options for sanding out the defects depending on how large the area is that needs blending:
Option 1: Small area
- Set the grain with an ELITE Flap Wheel (available in wooden hub or spindle mount) or a Portable File Belt - 60 grit+, moving your sander front-to-back, rather than side-to-side. You'll want to stay as close to the welded area as possible to minimise the final blending.
- Repeat sanding step above, but this time using 120 grit+
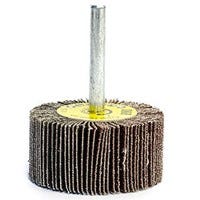
ELITE Flap Wheel (available in wooden hubor spindle mount) or Portable File Belt - 60 grit+
Option 2: Larger area
Now you've leveled the weld and removed any heavy fabrication marks, bring these areas up to the base product finish by sanding the whole piece and get it ready for step 3.
- Start with a Deerfos SA331 Velcro Sanding Disc, P120 grit and sand over the area you've used the fibre disc on in Step 1, or where you've marked the fabrication. Setting your sander to 4,000-6,500 RPM, move at a 90° angle to the scratches made in the previous step so make sure the previous scratches are removed.
- Repeat sanding step above, but this time using Deerfos SA331 Velcro Sanding Disc, P240 grit
- Repeat again, but this time using Deerfos SA331 Velcro Sanding Disc, P400 grit
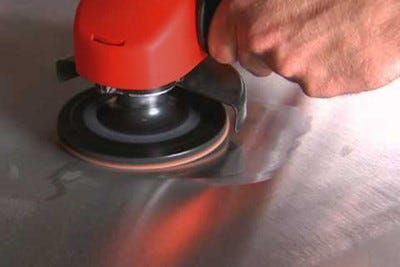

Step 3: Finishing
Attach a Combination Flap Wheel (available in wooden hub or spindle mount)to your sander and set at a medium speed. Sand in the direction of the grain, making sure to maintain an even pressure.
If sanding on a corner, stainless tape can be applied to cover one side, while sanding the other, so that a sharp finish can be achieved on each side of the corner.
For best results:
- Always sand in the direction of the grain.
- Try to maintain an even pressure so that the finish is even..

Combination Flap Wheel (available in wooden hub or spindle mount)
Get Everything You Need Here:

Deerfos Bora9 Fibre Disc, 60 grit+
ELITE Flap Wheel (available in wooden hubor spindle mount) or Portable File Belt - 60 grit+
Deerfos SA331 Velcro Sanding Discs
P120, P240, P400, P600, P1200 & P2000 grits
Combination Flap Wheel (available in wooden hub or spindle mount)
-
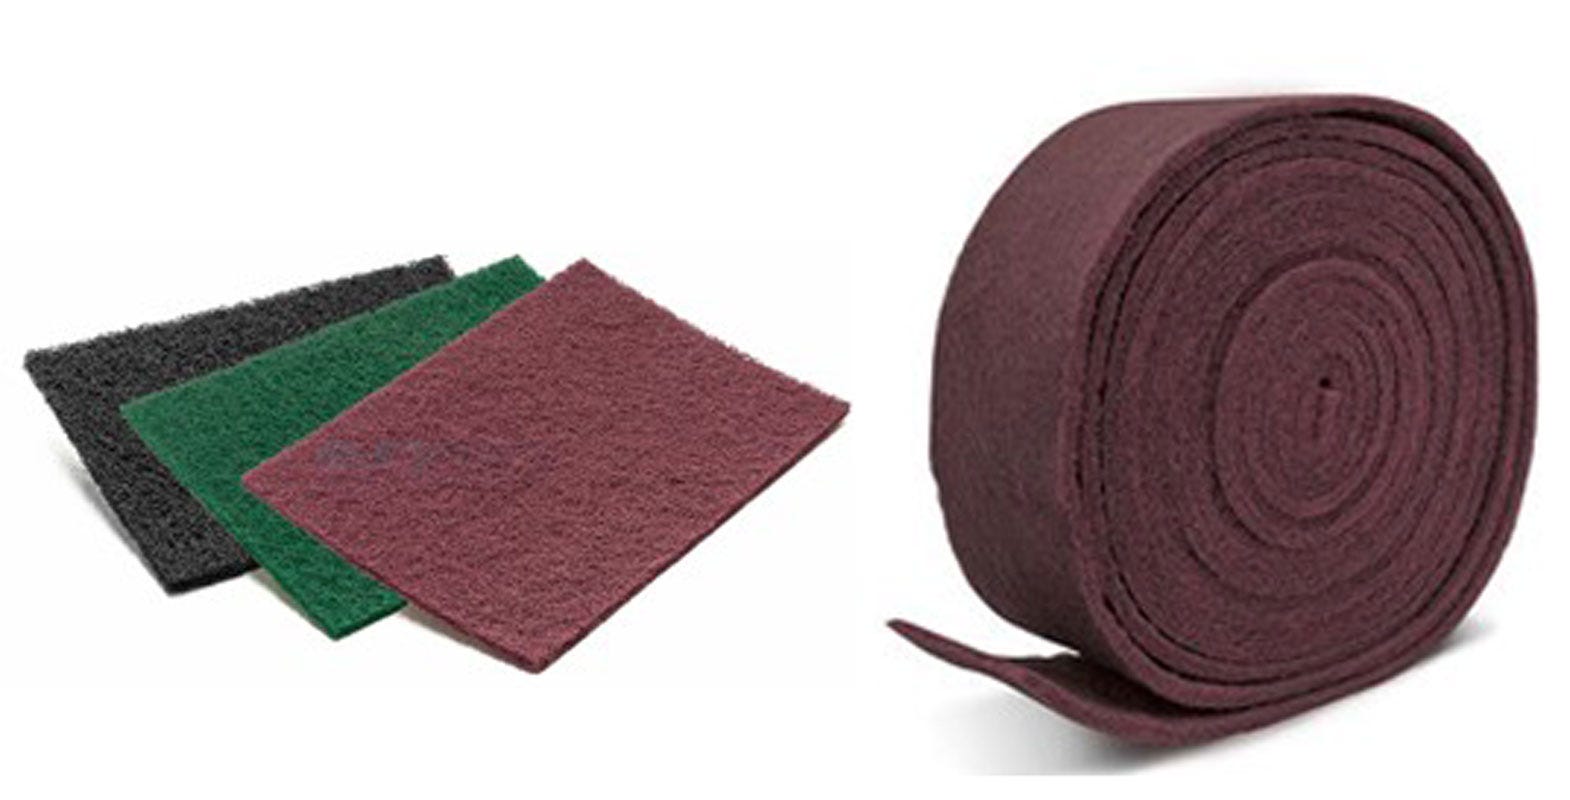 Choosing the best non-woven abrasive for your job
Non-woven products are often referred to as Scotch Bright, or Buff tex. ...
Read more -
 How to achieve a superior brushed satin finish on aluminium
There's some really cool finishes you can get with aluminium, and o...
Read more -
 Mirror mirror...how to polish aluminium to a mirror finish
Want to get your aluminium fabrication to a mirror finish? While there a...
Read more