 Need assistance?
How to achieve a superior brushed satin finish on aluminium
There's some really cool finishes you can get with aluminium, and one of the easiest ones to achieve is a satin brushed finish. Keep reading below for all the steps and tools you'll need to achieve a superior aluminium satin finish.


Step 1: Cleaning
Give your new aluminium sheet a quick wipe down before starting to remove any dirt from where it may have been stored.
If you're not working with a new piece, you'll need to give it a good clean to remove any dirt, grime, paint, oil, grease or any other foreign substances from the surface.
Step 2: Weld Removal
Next step is to remove any unsightly welds from the work. Grab yourself a Bora9 Fibre Disc, 60 grit+ and sand back the weld. Bora9 Fibre Discs not only have aggressive cool cutting, but a specialised top coating that reduces clogging...great for softer metals like aluminium!
Step 3: Setting The Grain & Scratch Removal
Now any welds are leveled, it's time to set the direction of the grain and remove any scratches or fabrication defects while you're at it.
For smaller areas you'll want to set the grain using an ELITE Flap Wheel 120 grit (available in wooden hub or spindle mount.) Attach the wheel to your sander and sand moving from front-to-back, rather than side-to-side. To minimise final blending, make sure you stay as close to the welded area as possible. Once this is done, repeat, but this time using 240 grit.
For larger areas you'll use SA331 sanding discs to remove all scratches and defects, and bring the fabrication back to the base product finish before creating the brushed satin finish in the next stage. You'll want to start with a 120 grit, sanding over the area you sanded in Step 2 with the fibre disc, and also any other areas that have scratches or fabrication marks. Move at a 90° angle to the scratches made in the previous step so make sure the previous scratches are removed. Once this is done, repeat with a 240 grit, again at a 90° angle from the 120 grit scratches.
Step 4. Finishing
After all that sanding, you're now at the finishing stage! Yeehah! Time to put that final brushed satin look in place...
A Combination Flap Wheel (available in wooden hub or spindle mount) is what you'll need to give you that uniform grain finish, and it's also ideal for blending. Attach to your sander and set at a medium speed, and sand in the direction of the grain, making sure to maintain an even pressure.
Tip: For corners, tape off one side with Aluminium Foil Tape while you sand the one side, then repeat for the other side. This will help prevent any distortion of the work and you'll end up with a crisp finish.
Choosing your grits
Your starting grit will depend on the amount of metal requiring removal on the surface. For fabrications which require weld removal or have high levels of pitting to be removed, you may want to go as low as 60 grit. It is not generally recommend to use a grit any lower than this for aluminium as it can cause damage and create further work. For most fabrications you should be able to start with a 120 grit progressing to a 240.
| Stage | Product | Grit/Type | |
| Weld Removal | Bora9 Fibre Disc |  |
P60+ |
| Scratch Removal (small areas) | ELITE Flap Wheel (available in wooden hub or spindle mount.) |  |
P120 P240 |
| Scratch Removal (large areas) | SA331 sanding discs |  |
P120 P240 |
| Finishing | Combination Flap Wheel (available in wooden hub or spindle mount) |  |
Medium |
-
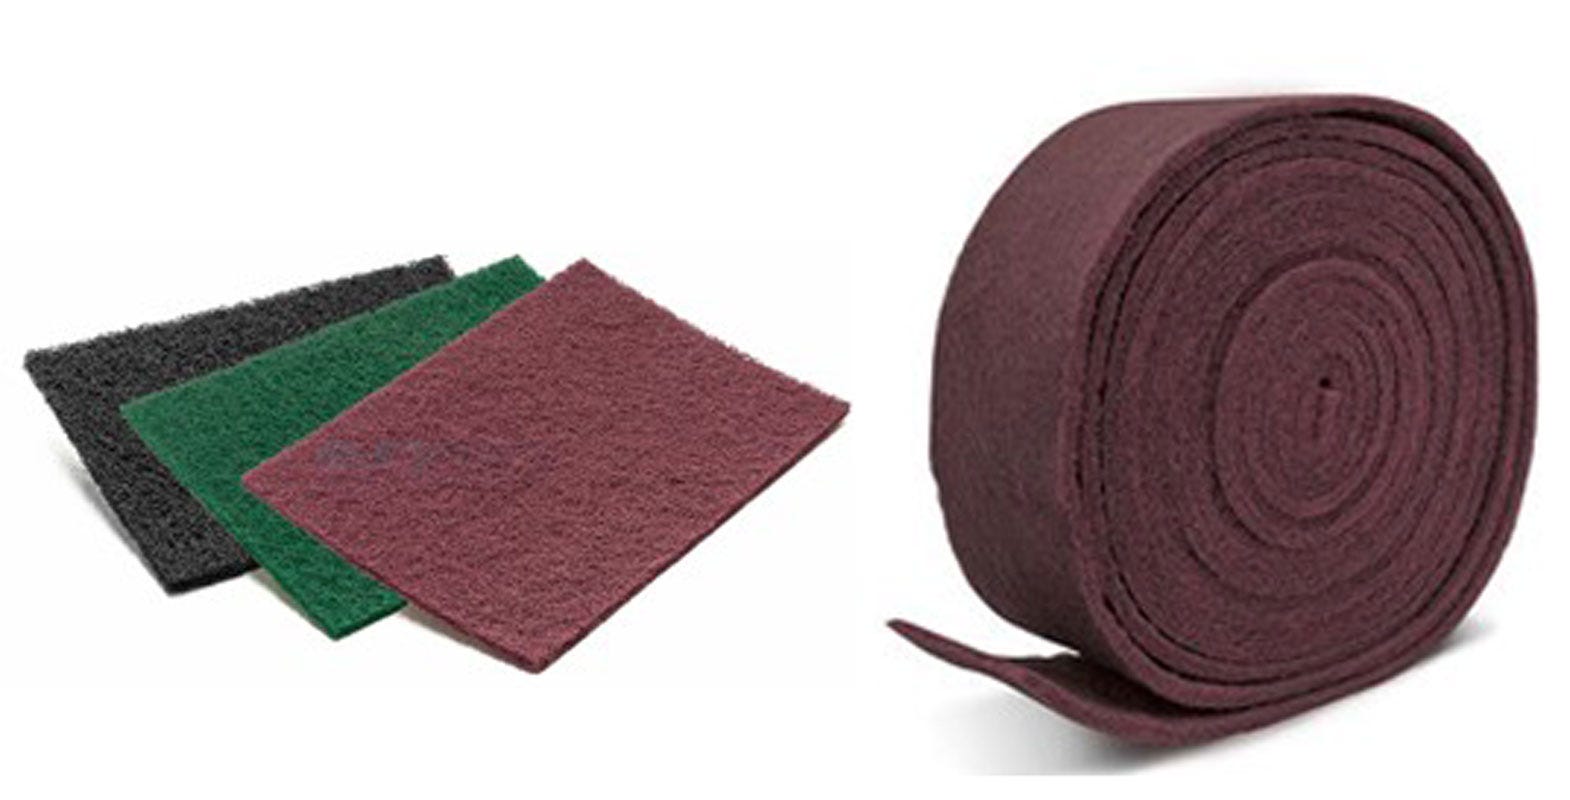 Choosing the best non-woven abrasive for your job
Non-woven products are often referred to as Scotch Bright, or Buff tex. ...
Read more -
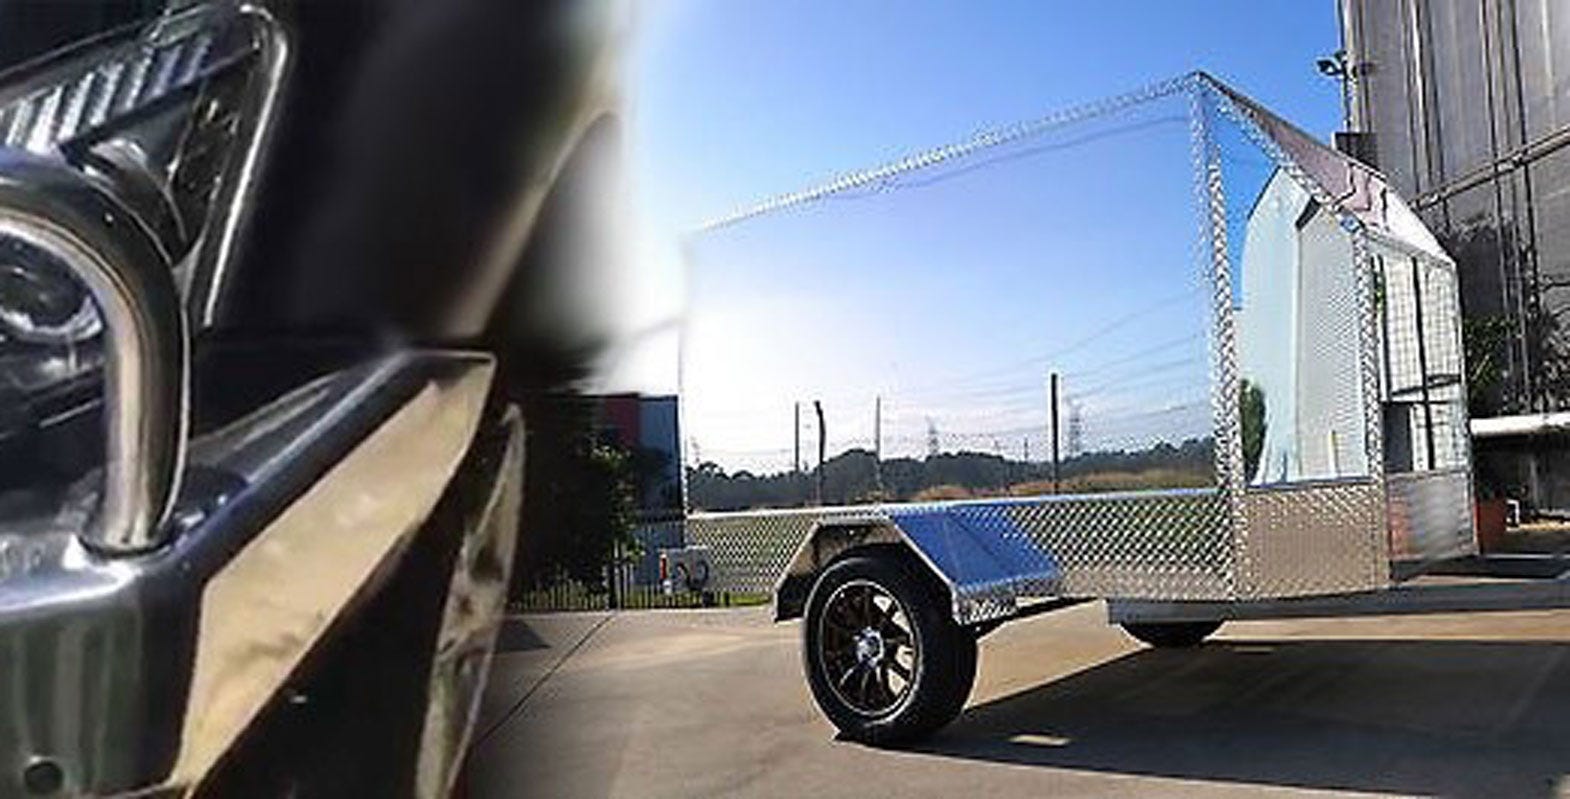 Mirror mirror...how to polish aluminium to a mirror finish
Want to get your aluminium fabrication to a mirror finish? While there a...
Read more -
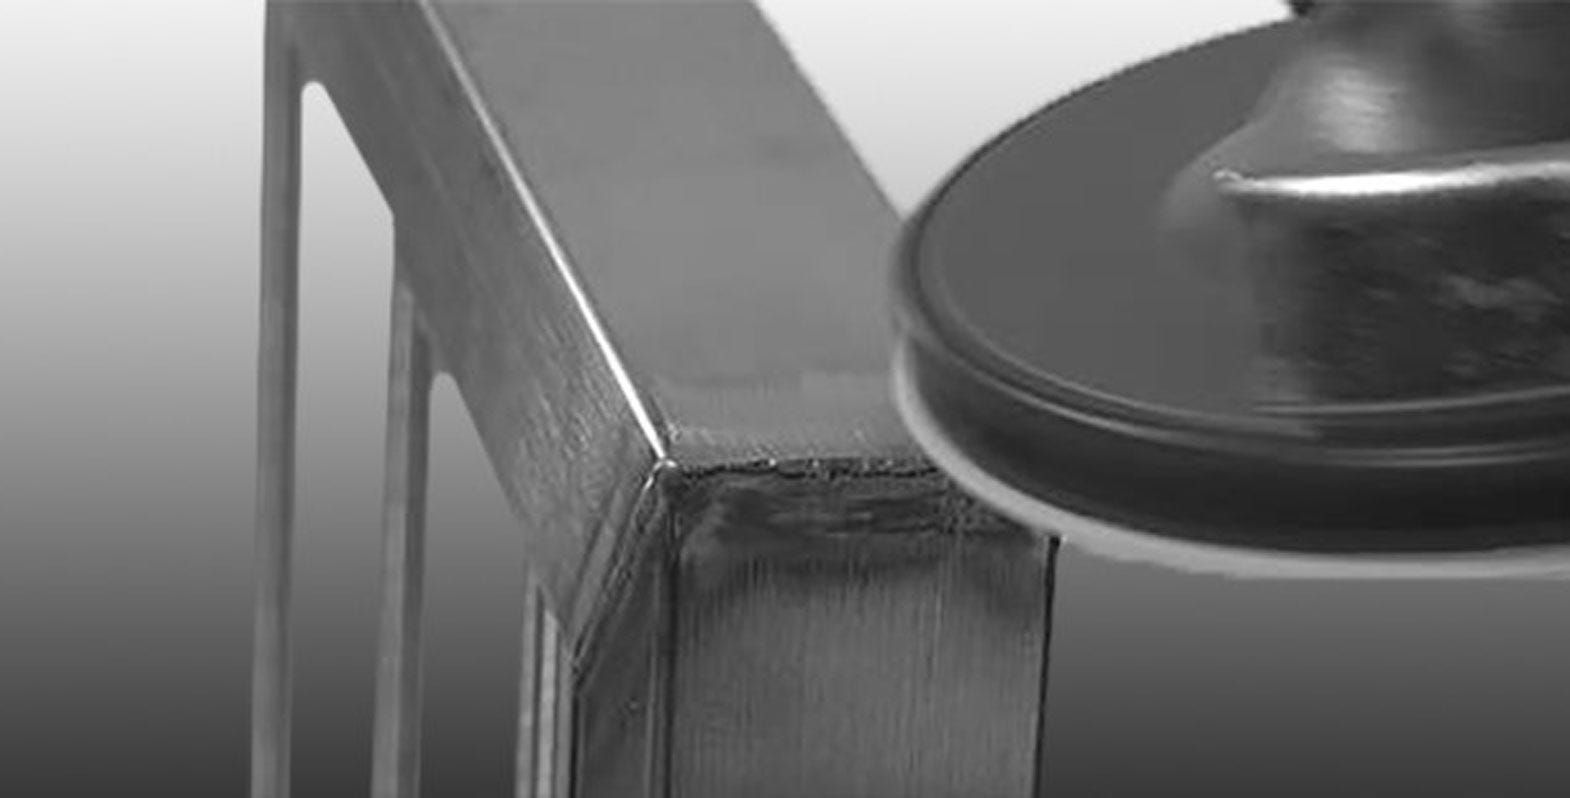 3 Step Satin Finishing on Stainless Steel Corners & Edging
Corners and edging are an important part of any fabrication when it come...
Read more