 Need assistance?
3 Step Satin Finishing on Stainless Steel Corners & Edging
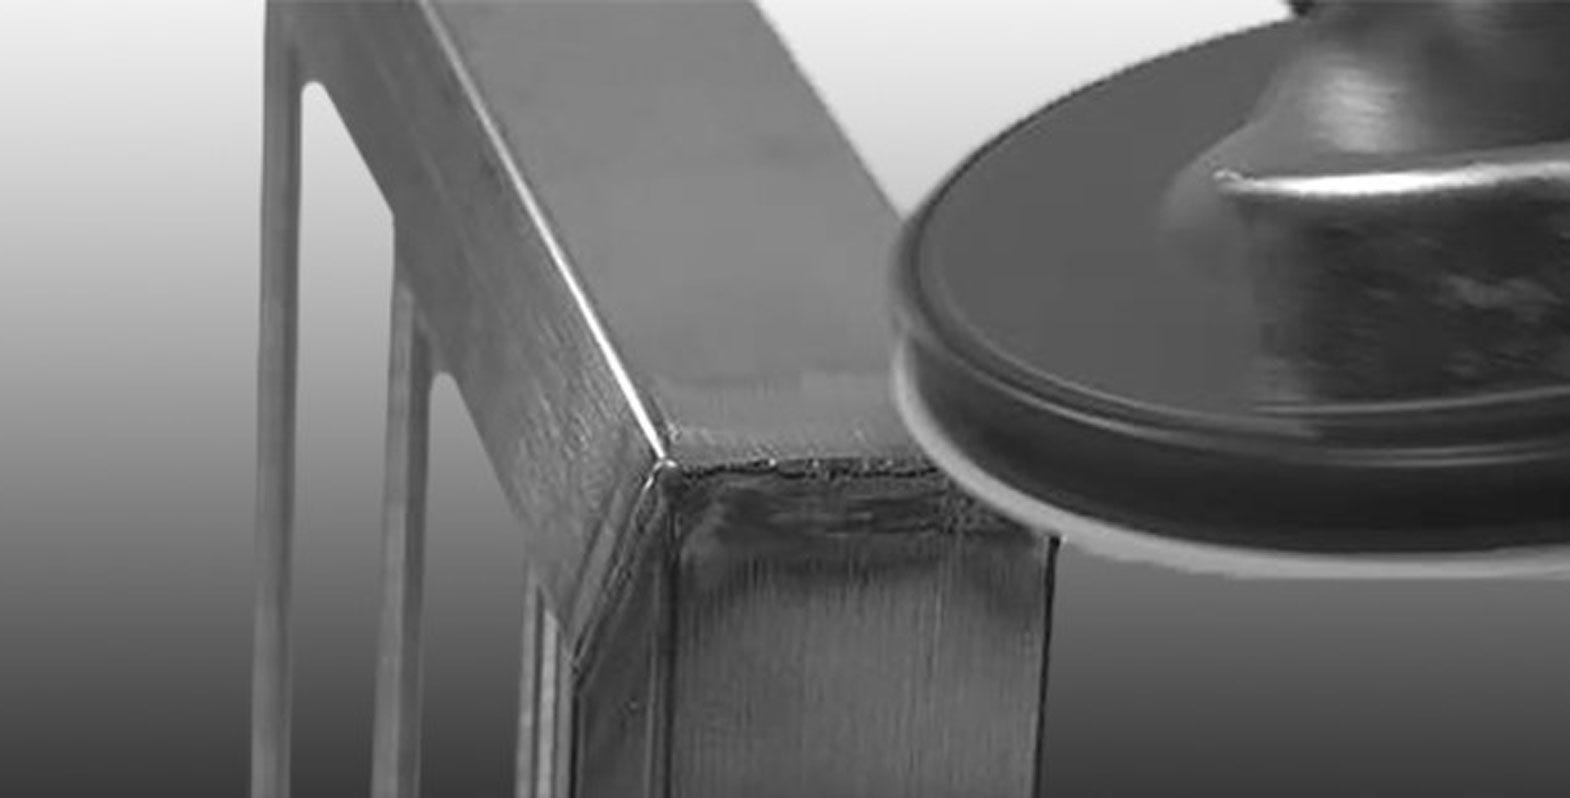
Corners and edging are an important part of any fabrication when it comes to finishing...a poorly finished edge will stick out like a sore thumb, but a great crisp finished edge is like icing on a cake. Keep reading to find out how to achieve the best satin finish on stainless steel corners and edging in 3 steps...

Step 1: Weld & Defect Removal
As with any other finishing, the first step is to smooth off welds and/or any other defects that have occurred during fabrication.
Outside Corners:
For the outside of your corner you'll want to use a Deerfos Bora9 Fibre Disc, 60 grit+, to carefully remove any welds on top or down the sides without gauging or distorting the work.
Bora9 Fibre Discs use a new generation ceramic grain for aggressive, cool cutting and long life caused by the sharp crystal shaped grain. They also utilise a specialised top coating to reduce clogging, friction and heat build up, maintaining the sharpness of the grain.
Inside Corners:
Getting into the T-section of joints is unlikely to allow a typical flat sanding disc in, so there's a couple of options for this:
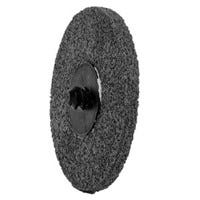
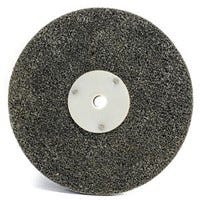
Attach a removal grade Buff-Tex Unitized Wheel to your sander and use the edge to reach the joint and carefully remove the weld; or
If a full sized wheel is still going to be too big to get into a tight space, try using a removal grade (red) Rap-Lock Unitized Disc
Removal Tool Kit

For Outside Corners:
Deerfos Bora9 Fibre Disc
60 grit+

For Inside Corners:
Buff-Tex Unitized Wheel
Removal grade

For Inside Corners:
Rap-Lock Unitized Disc
Removal grade
Step 2. Blending
To start blending, you'll first need to decide the direction of the grain:
- For flat, or square corners and edges, the grain will usually go along the length of the piece, in the direction of the corner/edge.
- Fortube and pipe finishing the most common approach is to set the grain parallel with the weld seam.
Outside Corners:
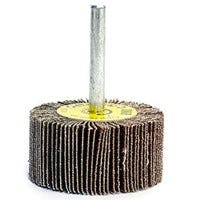
Set the grain with an ELITE Flap Wheel (available in wooden hub or spindle mount) or a Portable File Belt, 60 grit+, moving your sander front-to-back, rather than side-to-side. You'll want to stay as close to the welded area as possible to minimise the final blending.
After you've set the grain, repeat the sanding, but this time using 120 grit+
Inside Corners:
Once again, to be able to access the T-section of your corner/joint, you will most likely need different abrasives than working with easy to access areas. We'd recommend one of the following options:
- Attach a blending grade Buff-Tex Unitized Wheel to your sander and use the edge to reach the joint and blend in the welded area, moving in the direction you want the final grain to go; or
- If a full sized wheel is still going to be too big to get into a tight space, try using a blending grade (grey) Rap-Lock Unitized Disc
Blending Tool Kit
For Outside Corners:
ELITE Flap Wheel (available in wooden hub or spindle mount) or Portable File Belt - 60 grit+

For Inside Corners:
Buff-Tex Unitized Wheel
Blending grade
For Inside Corners:
Rap-Lock Unitized Disc
Blending grade
Step 3: Satin Finishing
Once you've removed the weld, sanded out any defects, and blended, it's time to apply the brushed satin finish.
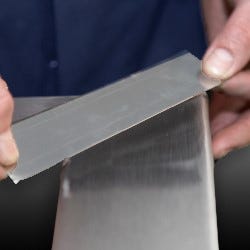
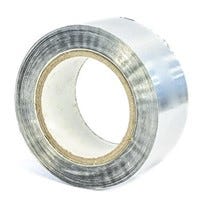
Tape Your Corners
To get that nice crisp edge the trick is to use Aluminium Foil Tape!
Best practice is to cover one side, while sanding the other, so that a sharp finish can be achieved on each side of the corner.
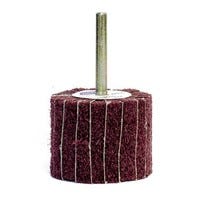
Flat Outside Corners & Edges
For flat/square edges, attach a Combination Flap Wheel (available in wooden hub or spindle mount) to your sander and set at a medium speed. Sand in the direction of the grain, making sure to maintain an even pressure.
Flat Outside Corners & Edges
For flat/square edges, attach a Combination Flap Wheel (available in wooden hub or spindle mount) to your sander and set at a medium speed. Sand in the direction of the grain, making sure to maintain an even pressure.
Inside Corners
For the under side of your corner joint, or T-sections, use the same technique as for blending, but replace the abrasives with a finishing grade:
- Attach a finishing grade Buff-Tex Unitized Wheel to your sander and use the edge to reach the joint and blend in the welded area, moving in the direction you want the final grain to go; or
- If a full sized wheel is still going to be too big to get into a tight space, try using a finishing grade (blue) Rap-Lock Unitized Disc
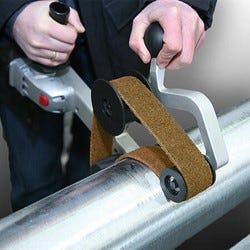
Curved Edges
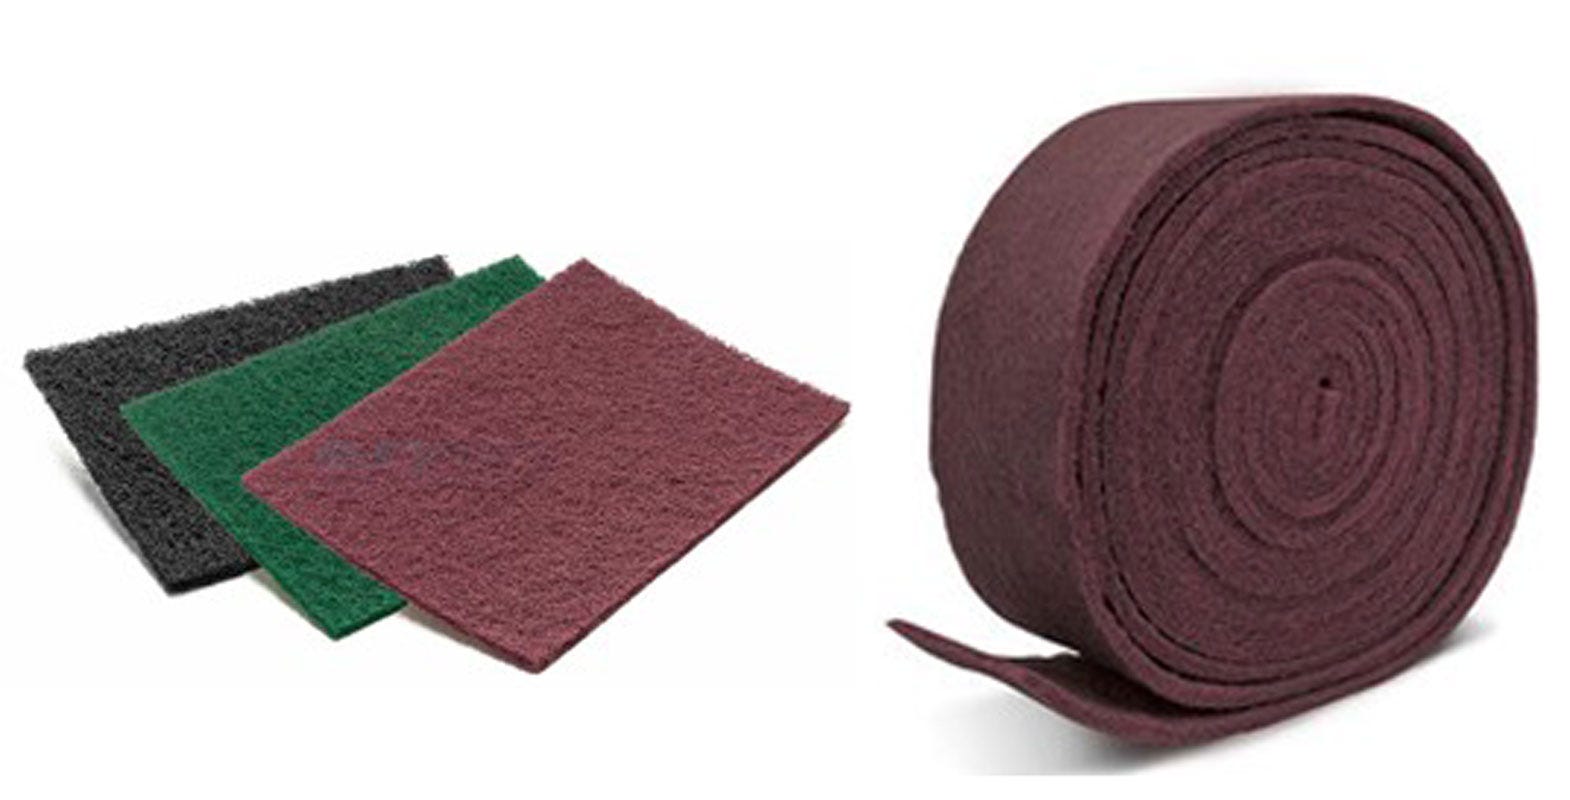
If you're working with a curved edge, like the end of a worktop, you'll need to get the brushed satin finish going around the curved surface. For this you'll need to use a Surface Conditioning Linishing Belt (medium grit), or a non-woven roll, such as the black ELITE Buff-Tex Roll (medium grit)
There are a couple of ways you can achieve the finish:
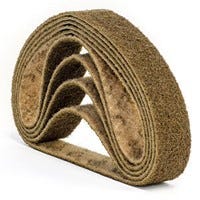
- Tube Belt Sander - Attach a Surface Conditioning Linishing Belt (medium grit) to your Tube Belt Sander, set the speed to a medium level and move the tool up and down the curved surface making sure to apply a consistent level of pressure.
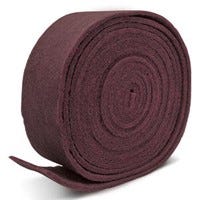
- Muscle Power- Using an ELITE Buff-Tex Roll - maroon (fine grit), wrap the belt around the tube/pipe fabrication and manually sand to your desired finish.
For best results:
- Always sand in the direction of the grain.
- Try to maintain an even pressure so that the finish is even.
For best results:
- Always sand in the direction of the grain.
- Try to maintain an even pressure so that the finish is even.
Finishing Tool Kit
For Crisp Corners
Aluminium Foil Tape Heavy Duty 50mmx50m
For Flat Outside Corners & Edges
Combination Flap Wheel (available in wooden hub or spindle mount)
For Inside Corners:
Buff-Tex Unitized Wheel
Finishing grade

For Inside Corners:
Rap-Lock Unitized Disc
Finishing grade
For Curved Edges
Tube Belt Sanders
or Belt Drive Rollers
Surface Conditioning
Linishing Belt (medium grit)
For Curved Edges
Manual Finishing
ELITE Buff-Tex Roll,
Maroon (fine grit)
-
 Choosing the best non-woven abrasive for your job
Non-woven products are often referred to as Scotch Bright, or Buff tex. ...
Read more -
 How to achieve a superior brushed satin finish on aluminium
There's some really cool finishes you can get with aluminium, and o...
Read more -
 Mirror mirror...how to polish aluminium to a mirror finish
Want to get your aluminium fabrication to a mirror finish? While there a...
Read more